
Those of you who know me know that I love me some HGTV. I am always happy to watch a good renovation show. My faves are:
- #HomeTown – really makes me consider actually living in a small town in Mississippi!
- #GoodBones – love that this is a mum and daughter team, and they run the rehabs.
- #FixerUpper – although that’s only reruns now as Chip and Joanna expand their little empire to include their own channel, “Magnolia”, which will debut in January 2021. I’ll be watching you Chip & Jo!
- #RestoredByTheFords – Leanne’s designs are just crazy cool.
- #StoneHouseRevival – Um, yes please. Jeff Devlin and beautiful old homes. #Winning!
- #LoveItOrListItVancouver – Jillian and Todd are just cute. Plus I like seeing the various parts of Vancouver and guessing where the houses are.
- #PropertyBrothers and all their various spin-offs. In fact, “Property Brothers – Forever Home” is streaming as I write this.
That’s a lot of favourites, I know. I can’t help myself.
I think this love of home renovation shows was seeded when I was young. My dad used to have books and catalogues of home designs and floor plans. I have fond memories of sitting on his lap and looking through them with him. I’d even look at them on my own. I still love looking at house plans. So clearly, my love of housing projects comes quite naturally.
It’s funny then that I haven’t really ever done anything other than paint some walls.
Until now!
Now don’t get too excited. I haven’t gutted and completely redone a house – we are talking baby steps here.
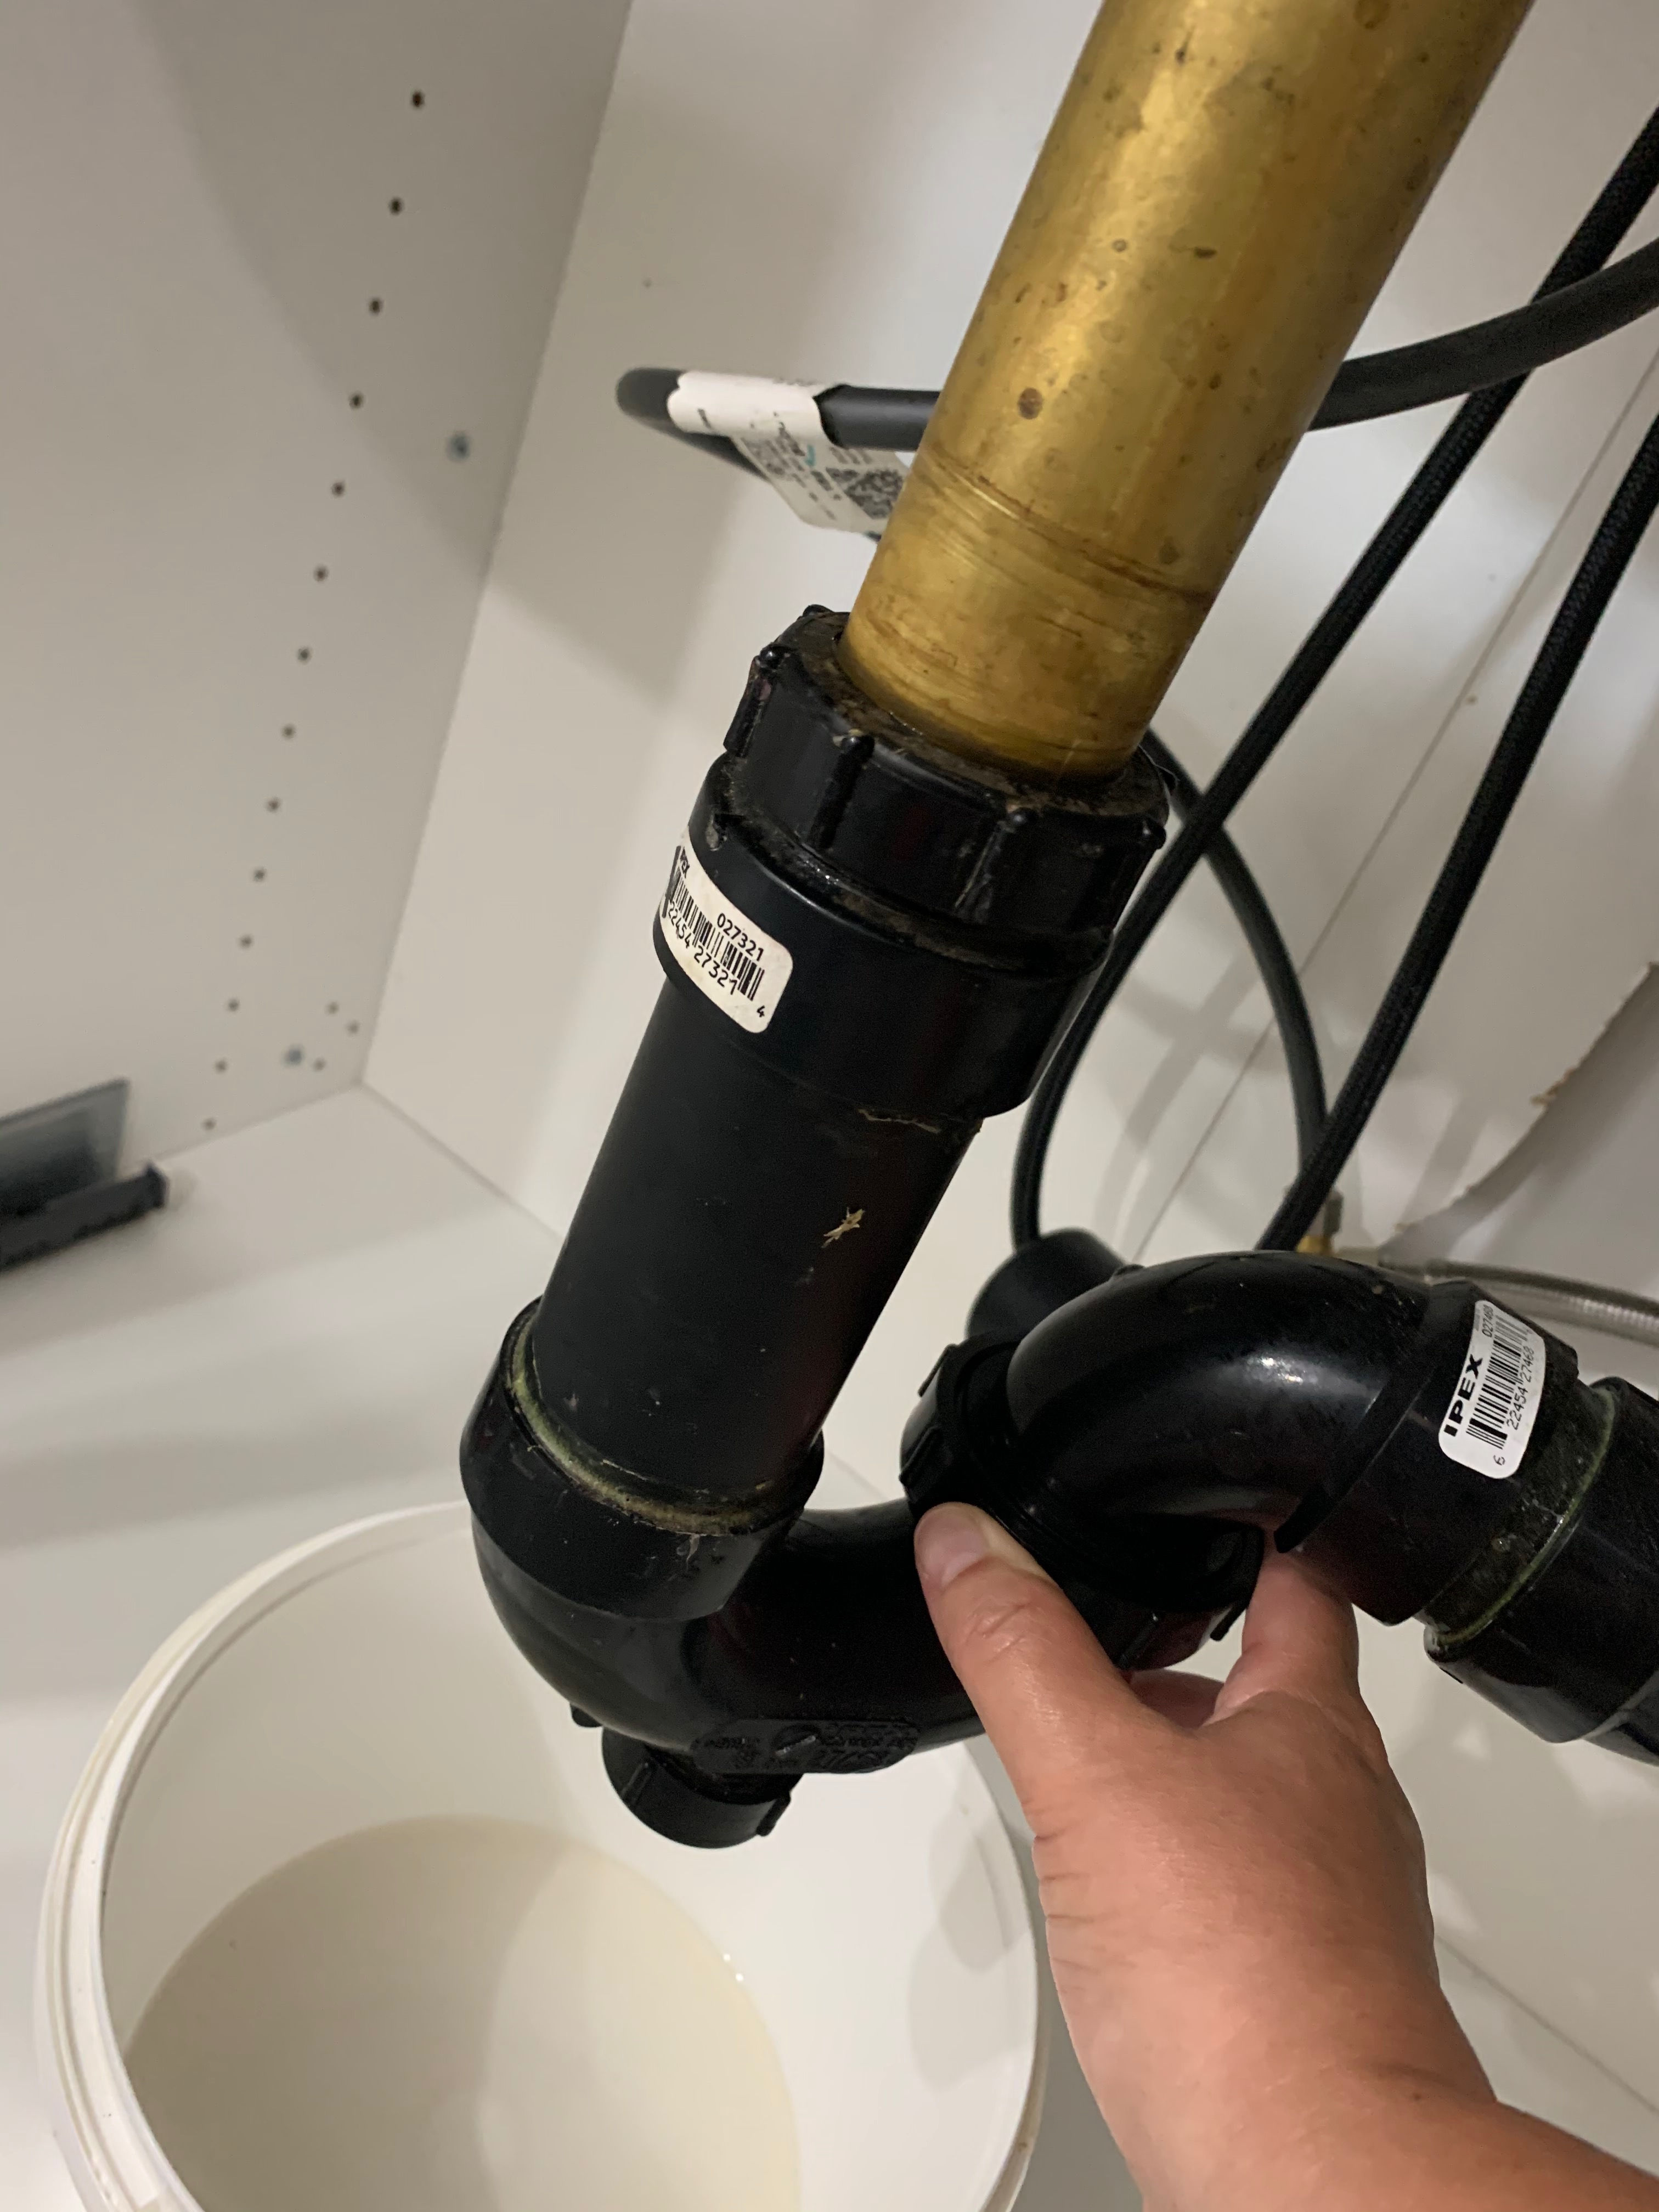

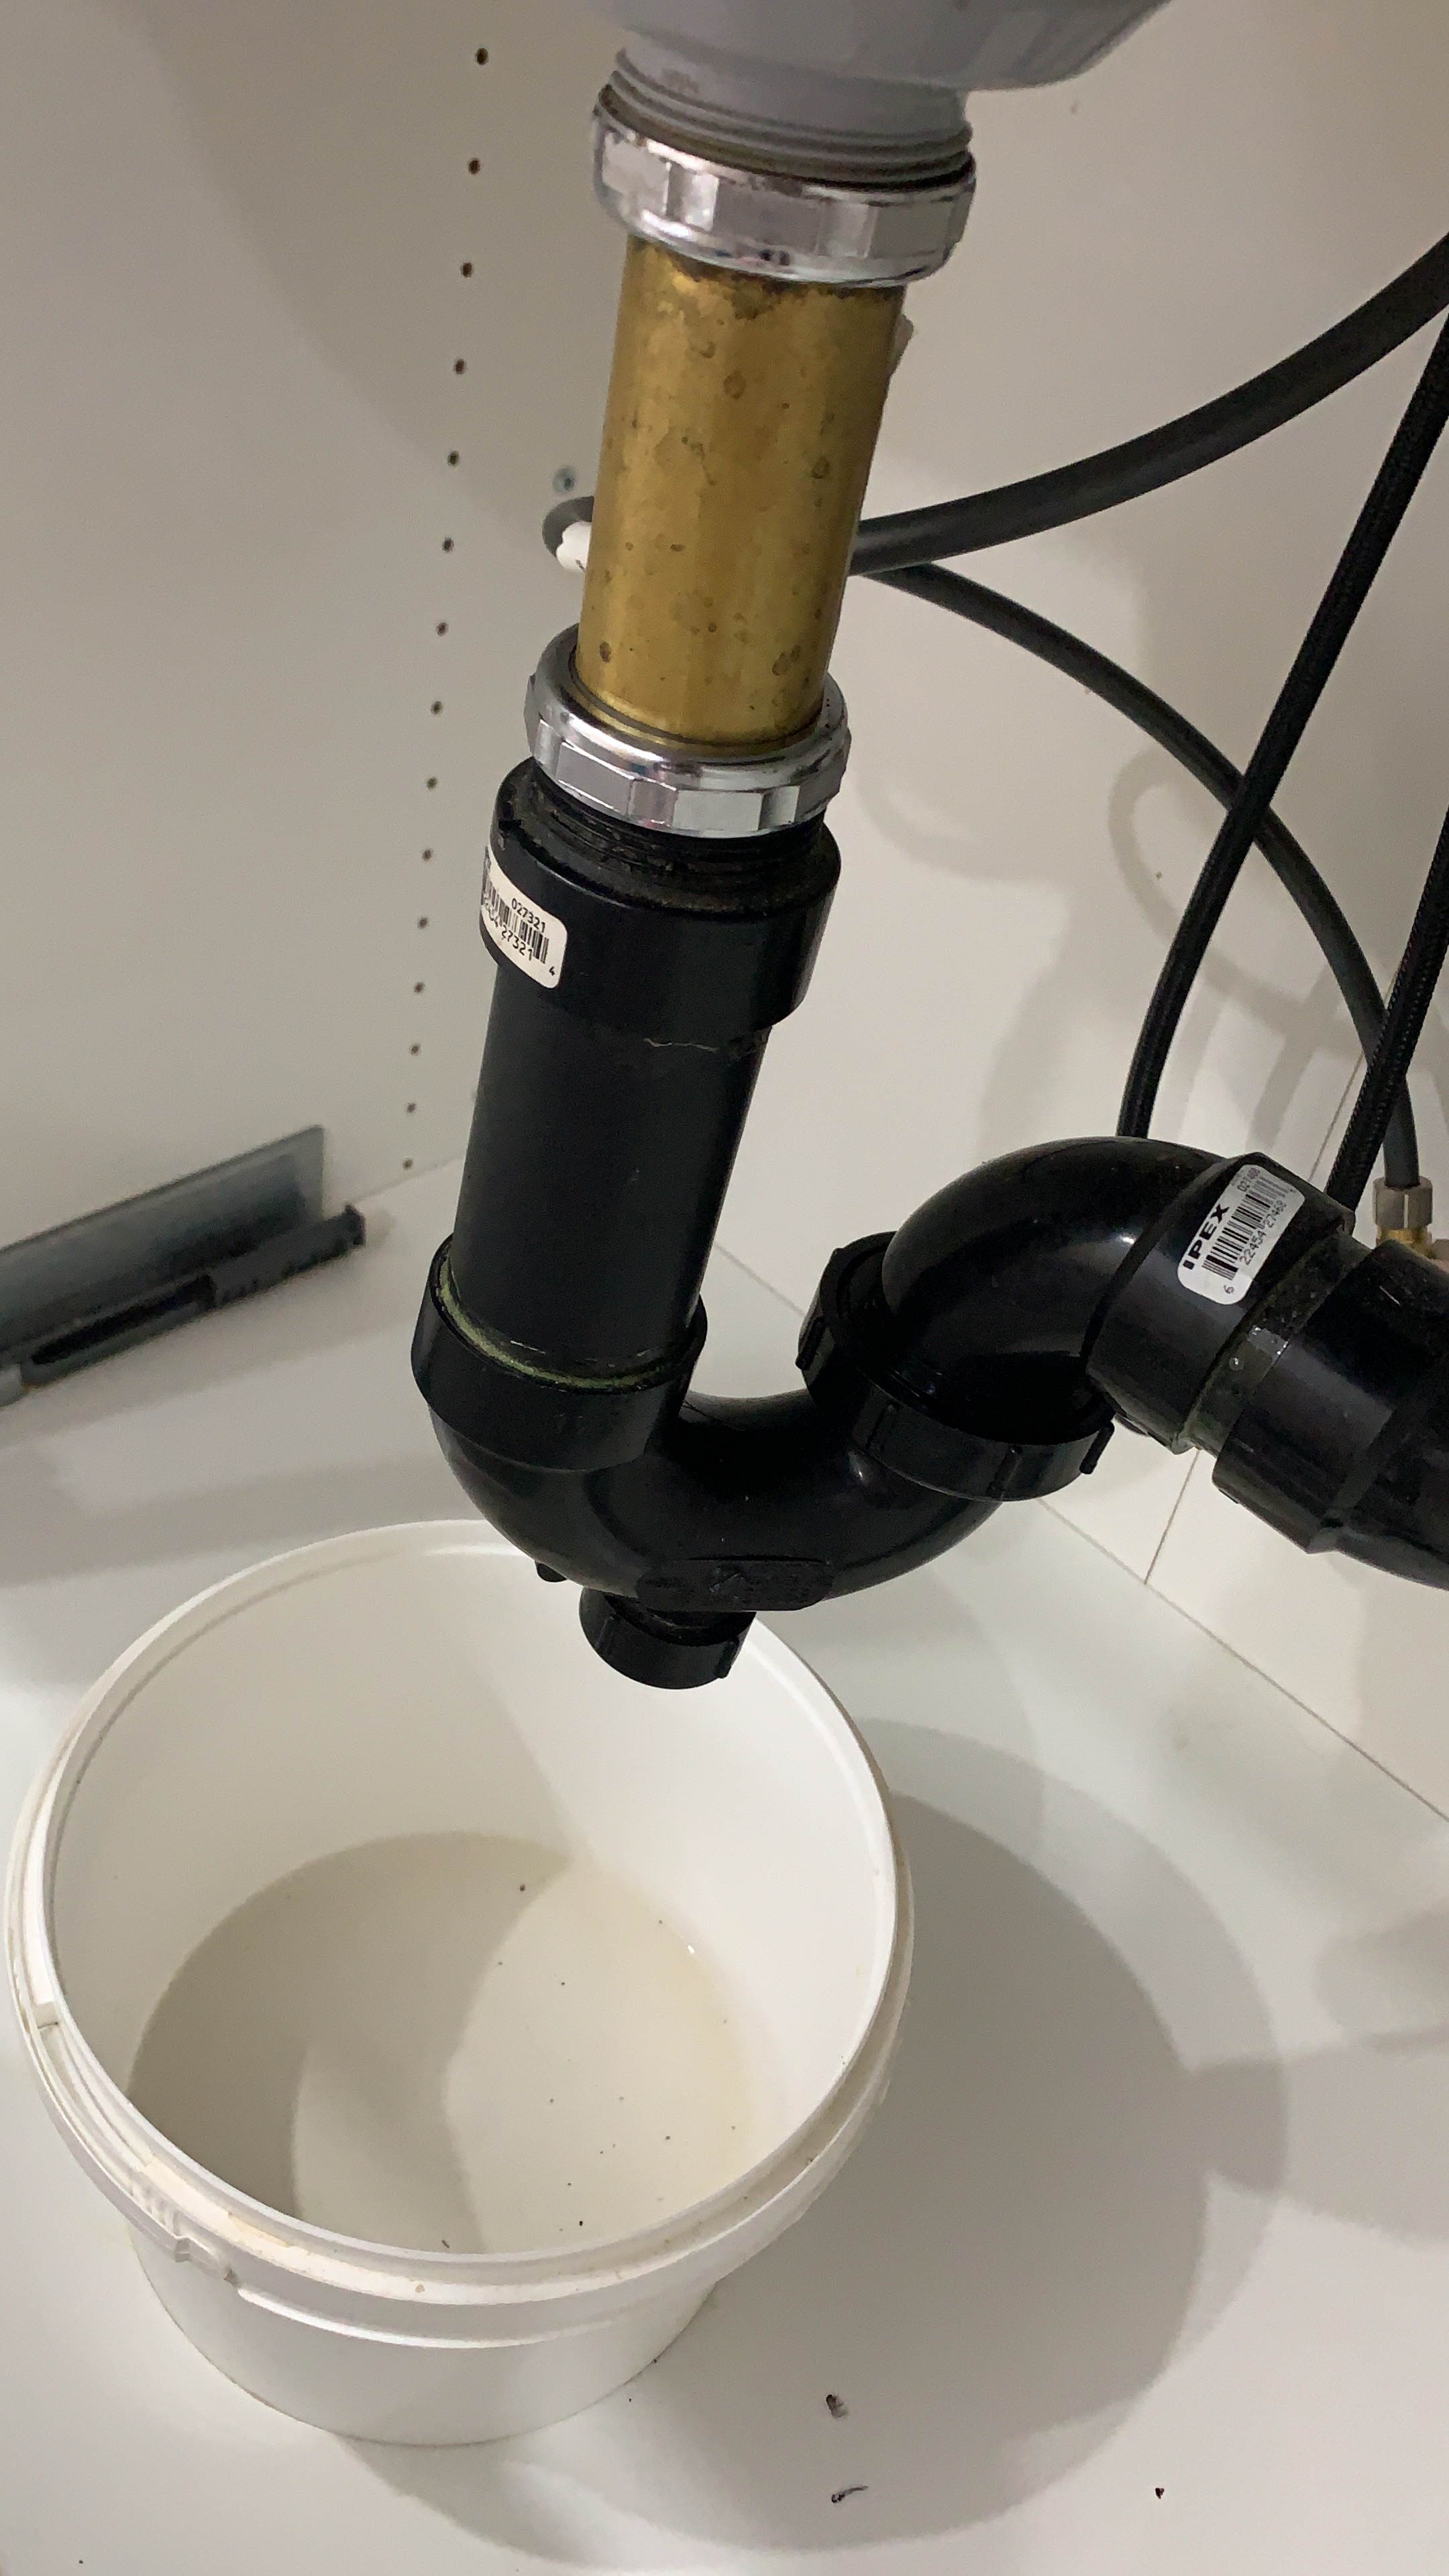
First up – the leaky kitchen sink. When I got to my initial Montreal home, there was a bucket under the pipes of the kitchen sink, and it required emptying regularly. A quick look revealed a pipe was slipping, not remaining properly tightened to the copper pipe coming down from the sink. One of my brothers was by and tightened it. But that didn’t last. Clearly I needed to replace part of the pipe. Now, I don’t have any tools and wondered if I would need a wrench to be able to take it apart. I figured I’d give it a shot and see. It didn’t really want to move. But I wasn’t going to give up that easily, so I told myself to properly get down on the floor so I could really put some strength into it. A few minutes, and it was off.
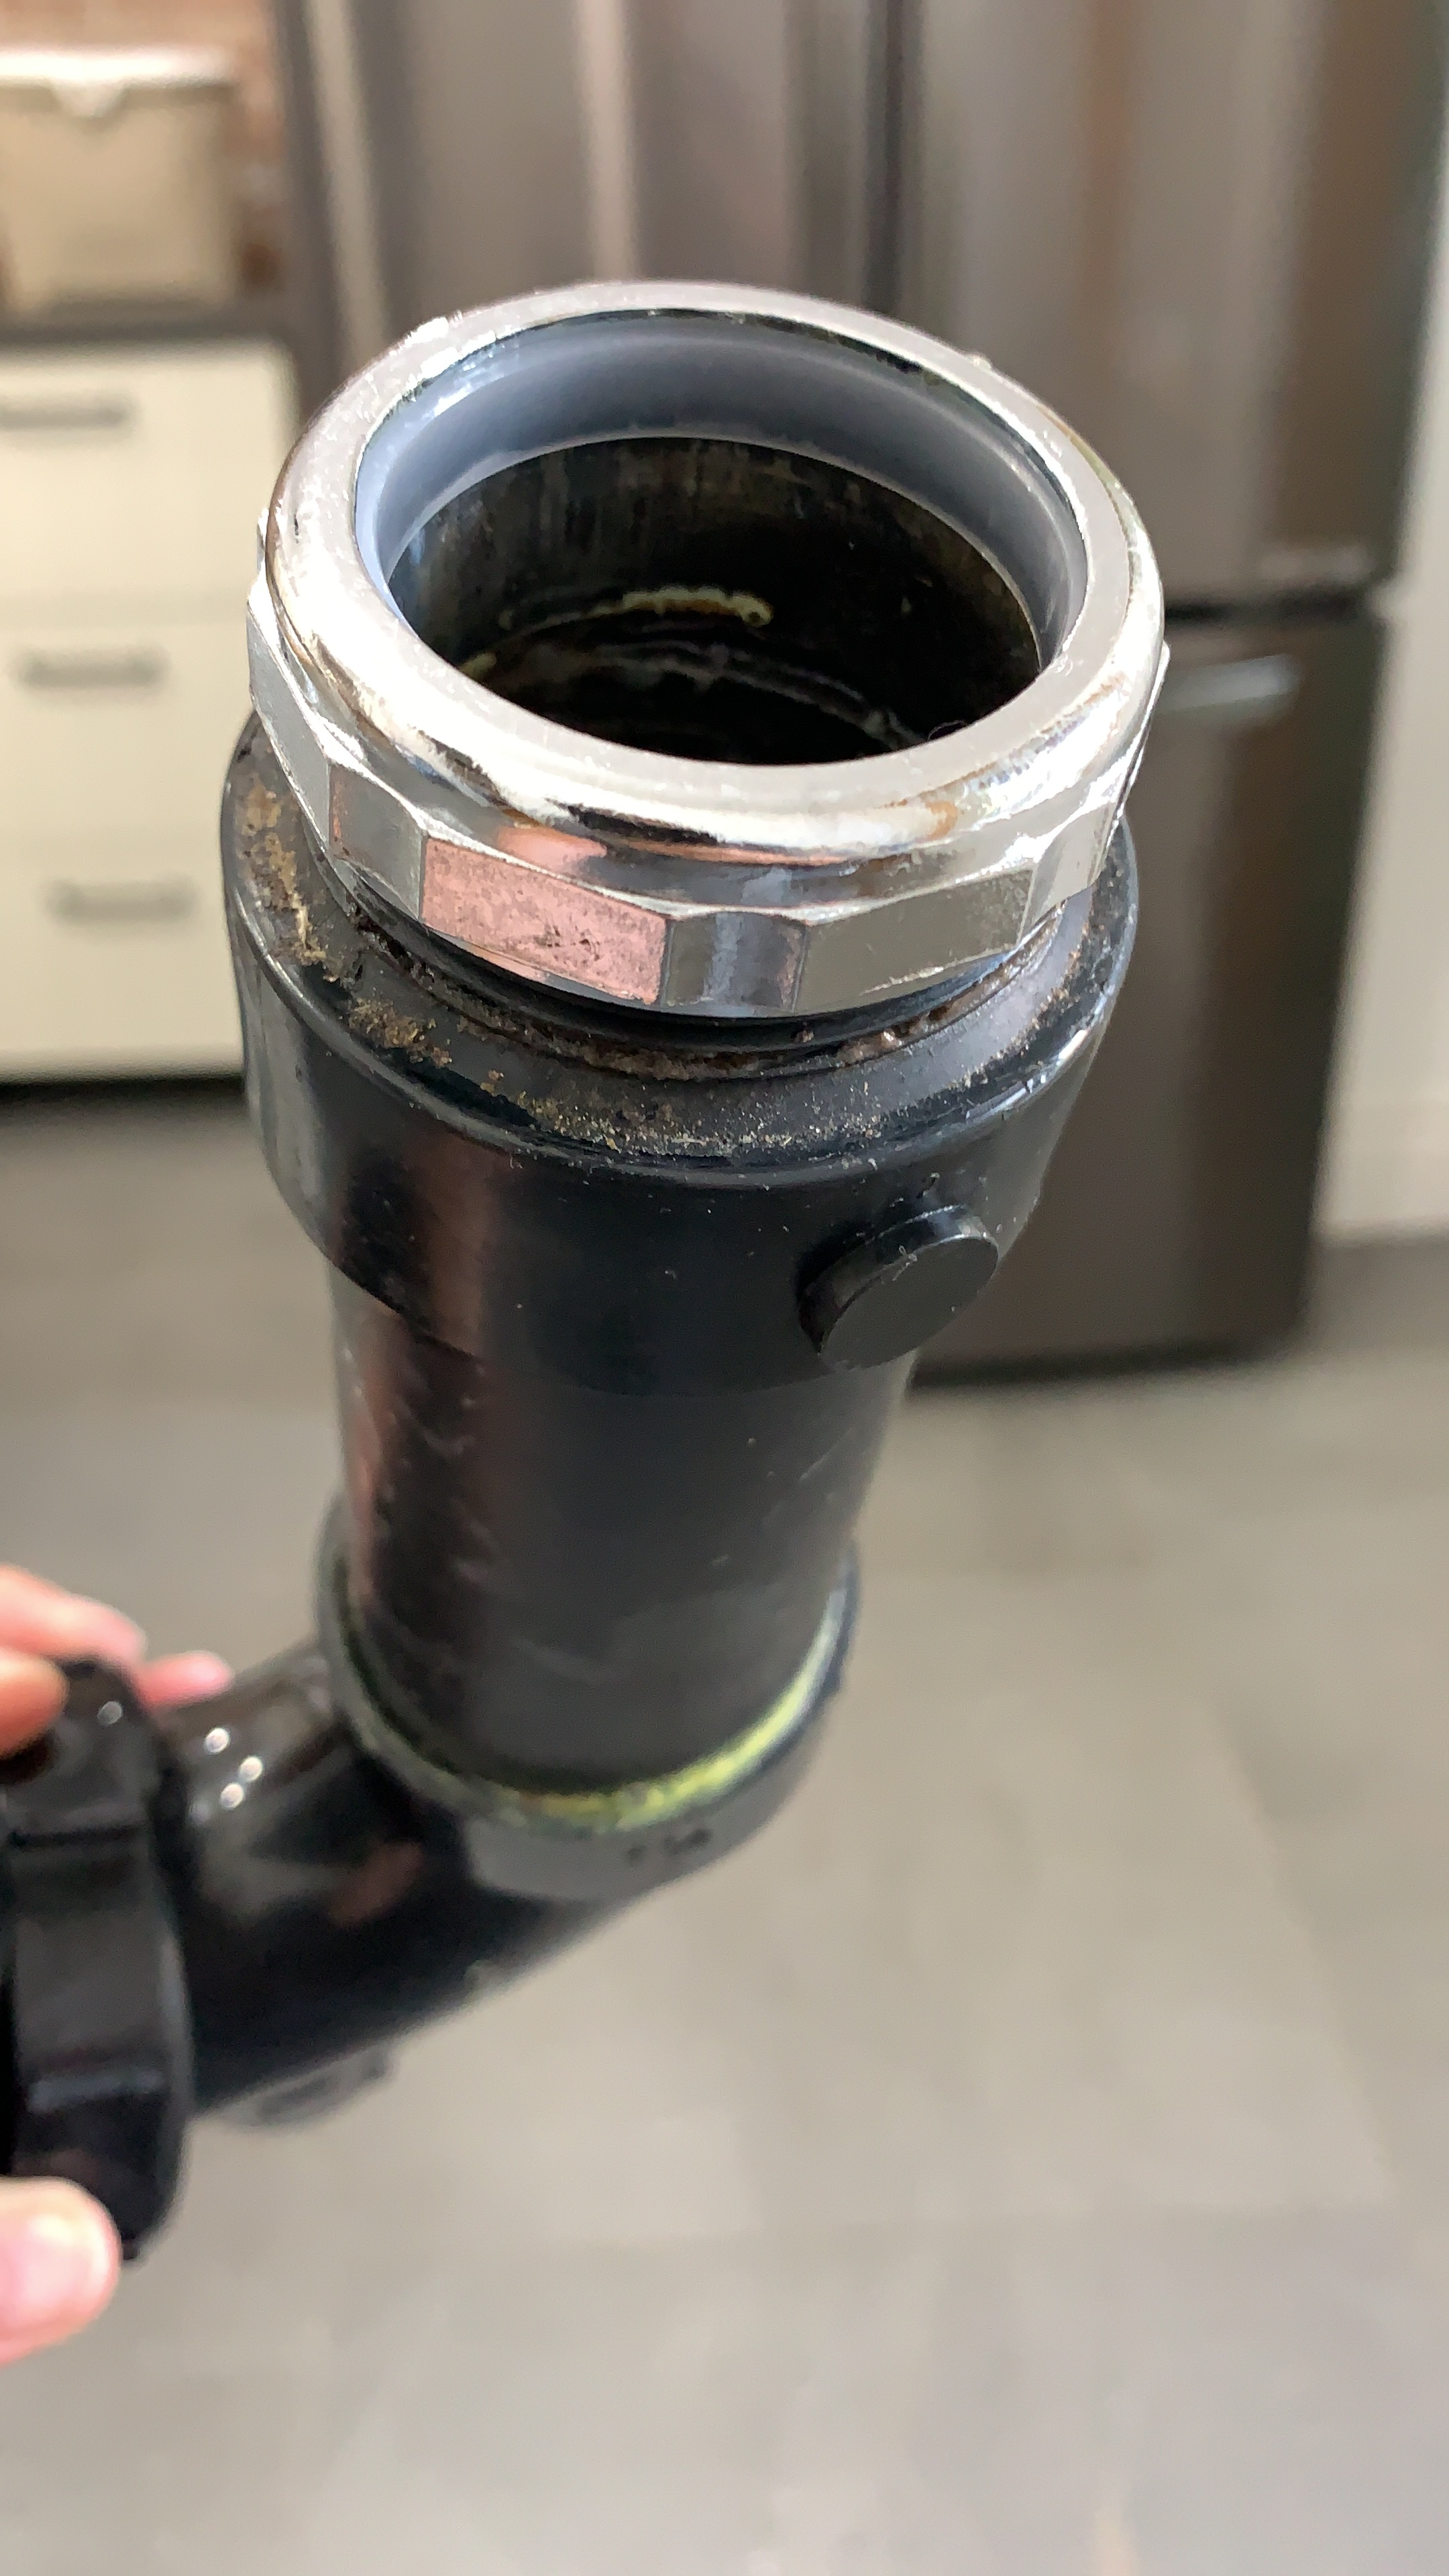
Luckily there is a Rona store close to me. I walked over with the piece in hand. I was greeted by someone asking what I was looking for and then directed to the counter downstairs where someone could help me. Knowing really nothing about anything when it comes to plumbing, I showed the man the piece and told him I needed a new one. He wanted a little more information, so I told him the top bit wasn’t staying tightened to the copper pipe. He looked at me, said he wasn’t sure they had the exact piece (yikes!) and asked me to wait for a moment.
I watched as he looked at some little pieces in small shelving units behind the counter. He then handed it back to me telling me he had replaced the “washer”, as it was stripped. This should work. He even told me I didn’t need a wrench or anything to tighten it, that it just needs to be securely tightened using regular old arm strength. The replaced washer cost me $3.43. Now that’s my kind of solution to a plumbing problem! I came home and then struggled to get the damn thing on. It has to be a tight fit, but man, I thought it wasn’t going to fit at all. Again, I was determined. I properly got down on my knees, fiddled and finally, it went on. I tightened it at both ends, and Voila! I’m happy to report that there has been absolutely no leaking since.
And best of all, not even a hint of “plumbers crack” was seen. Phew!

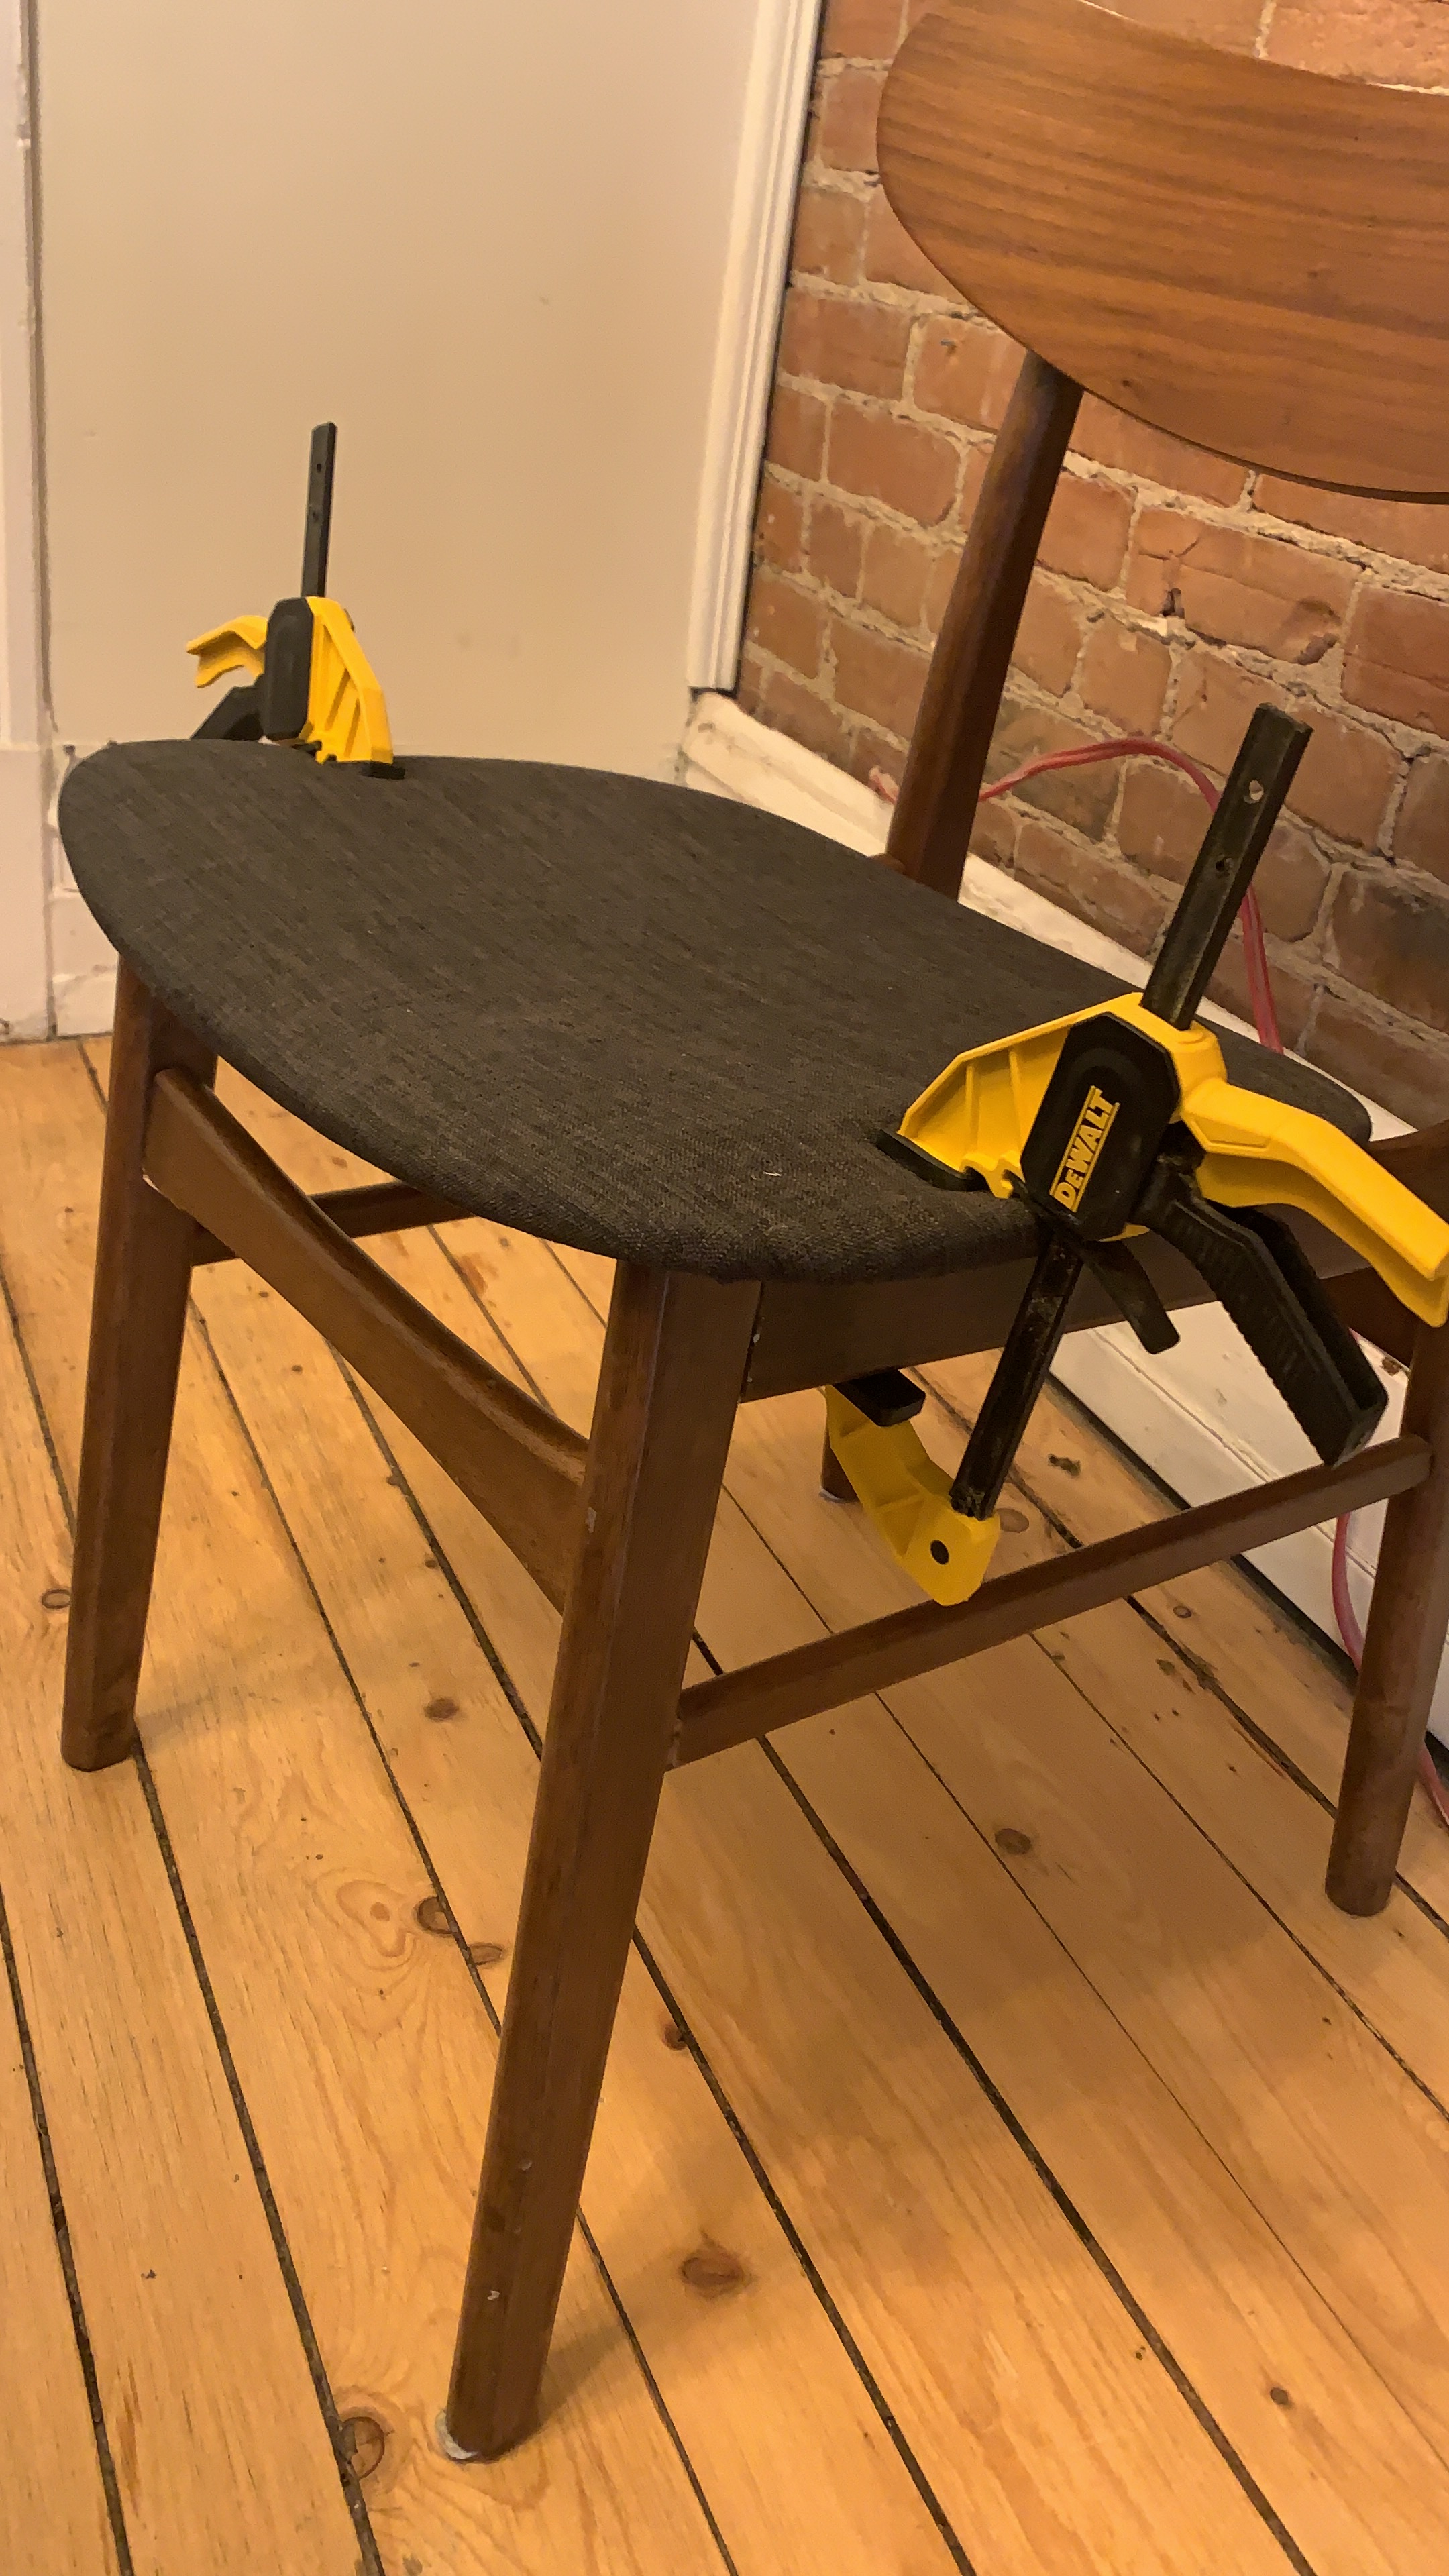

Next up: dining room chairs. There are six and only two were solid. The other four had issues with either the seat, the back or both. I saw clamps in the closet and picked up some wood glue. I used a generous amount of glue, some new, longer, joint inserts (those provided with the chairs were short and I thought the piece should actually fill the joint holes), put on the clamps and let it sit for a good 12-24 hours.
One of the chairs also had an issue with the legs – the support piece that runs horizontal was out. I found a random piece of wood, picked up the hammer and gently got it back into place by hammering the random piece of wood placed on the chair leg – so I didn’t damage the actual chair. We now have 6 usable chairs!
If only I could have people over for dinner…. Although this was a super easy fix, it really felt very satisfying. All we have to do now is wait and see how long it lasts. These chairs look good, but they are not exactly solidly made.
Then I moved to the apartment above, which is where I am now. Why I moved from the second-floor apartment to the third-floor apartment is a story for another day. All I’ll say now is I’m very lucky.
Having been renovated some 20 years ago, the apartment is in pretty good shape, but needs a bit of a refresh.
One of the dining room walls had been painted a dark chocolate brown by a previous tenant. Why??? This place gets some really lovely light, especially when the afternoon sun floods into the living and dining rooms. But even that light just died when it reached the wall. It was a dark space in the middle of the afternoon. No thanks. It needed to be white. Then I realized the other walls were taupe and the ceiling an off-white. So that meant a complete paint job.
Luckily I enjoy painting!

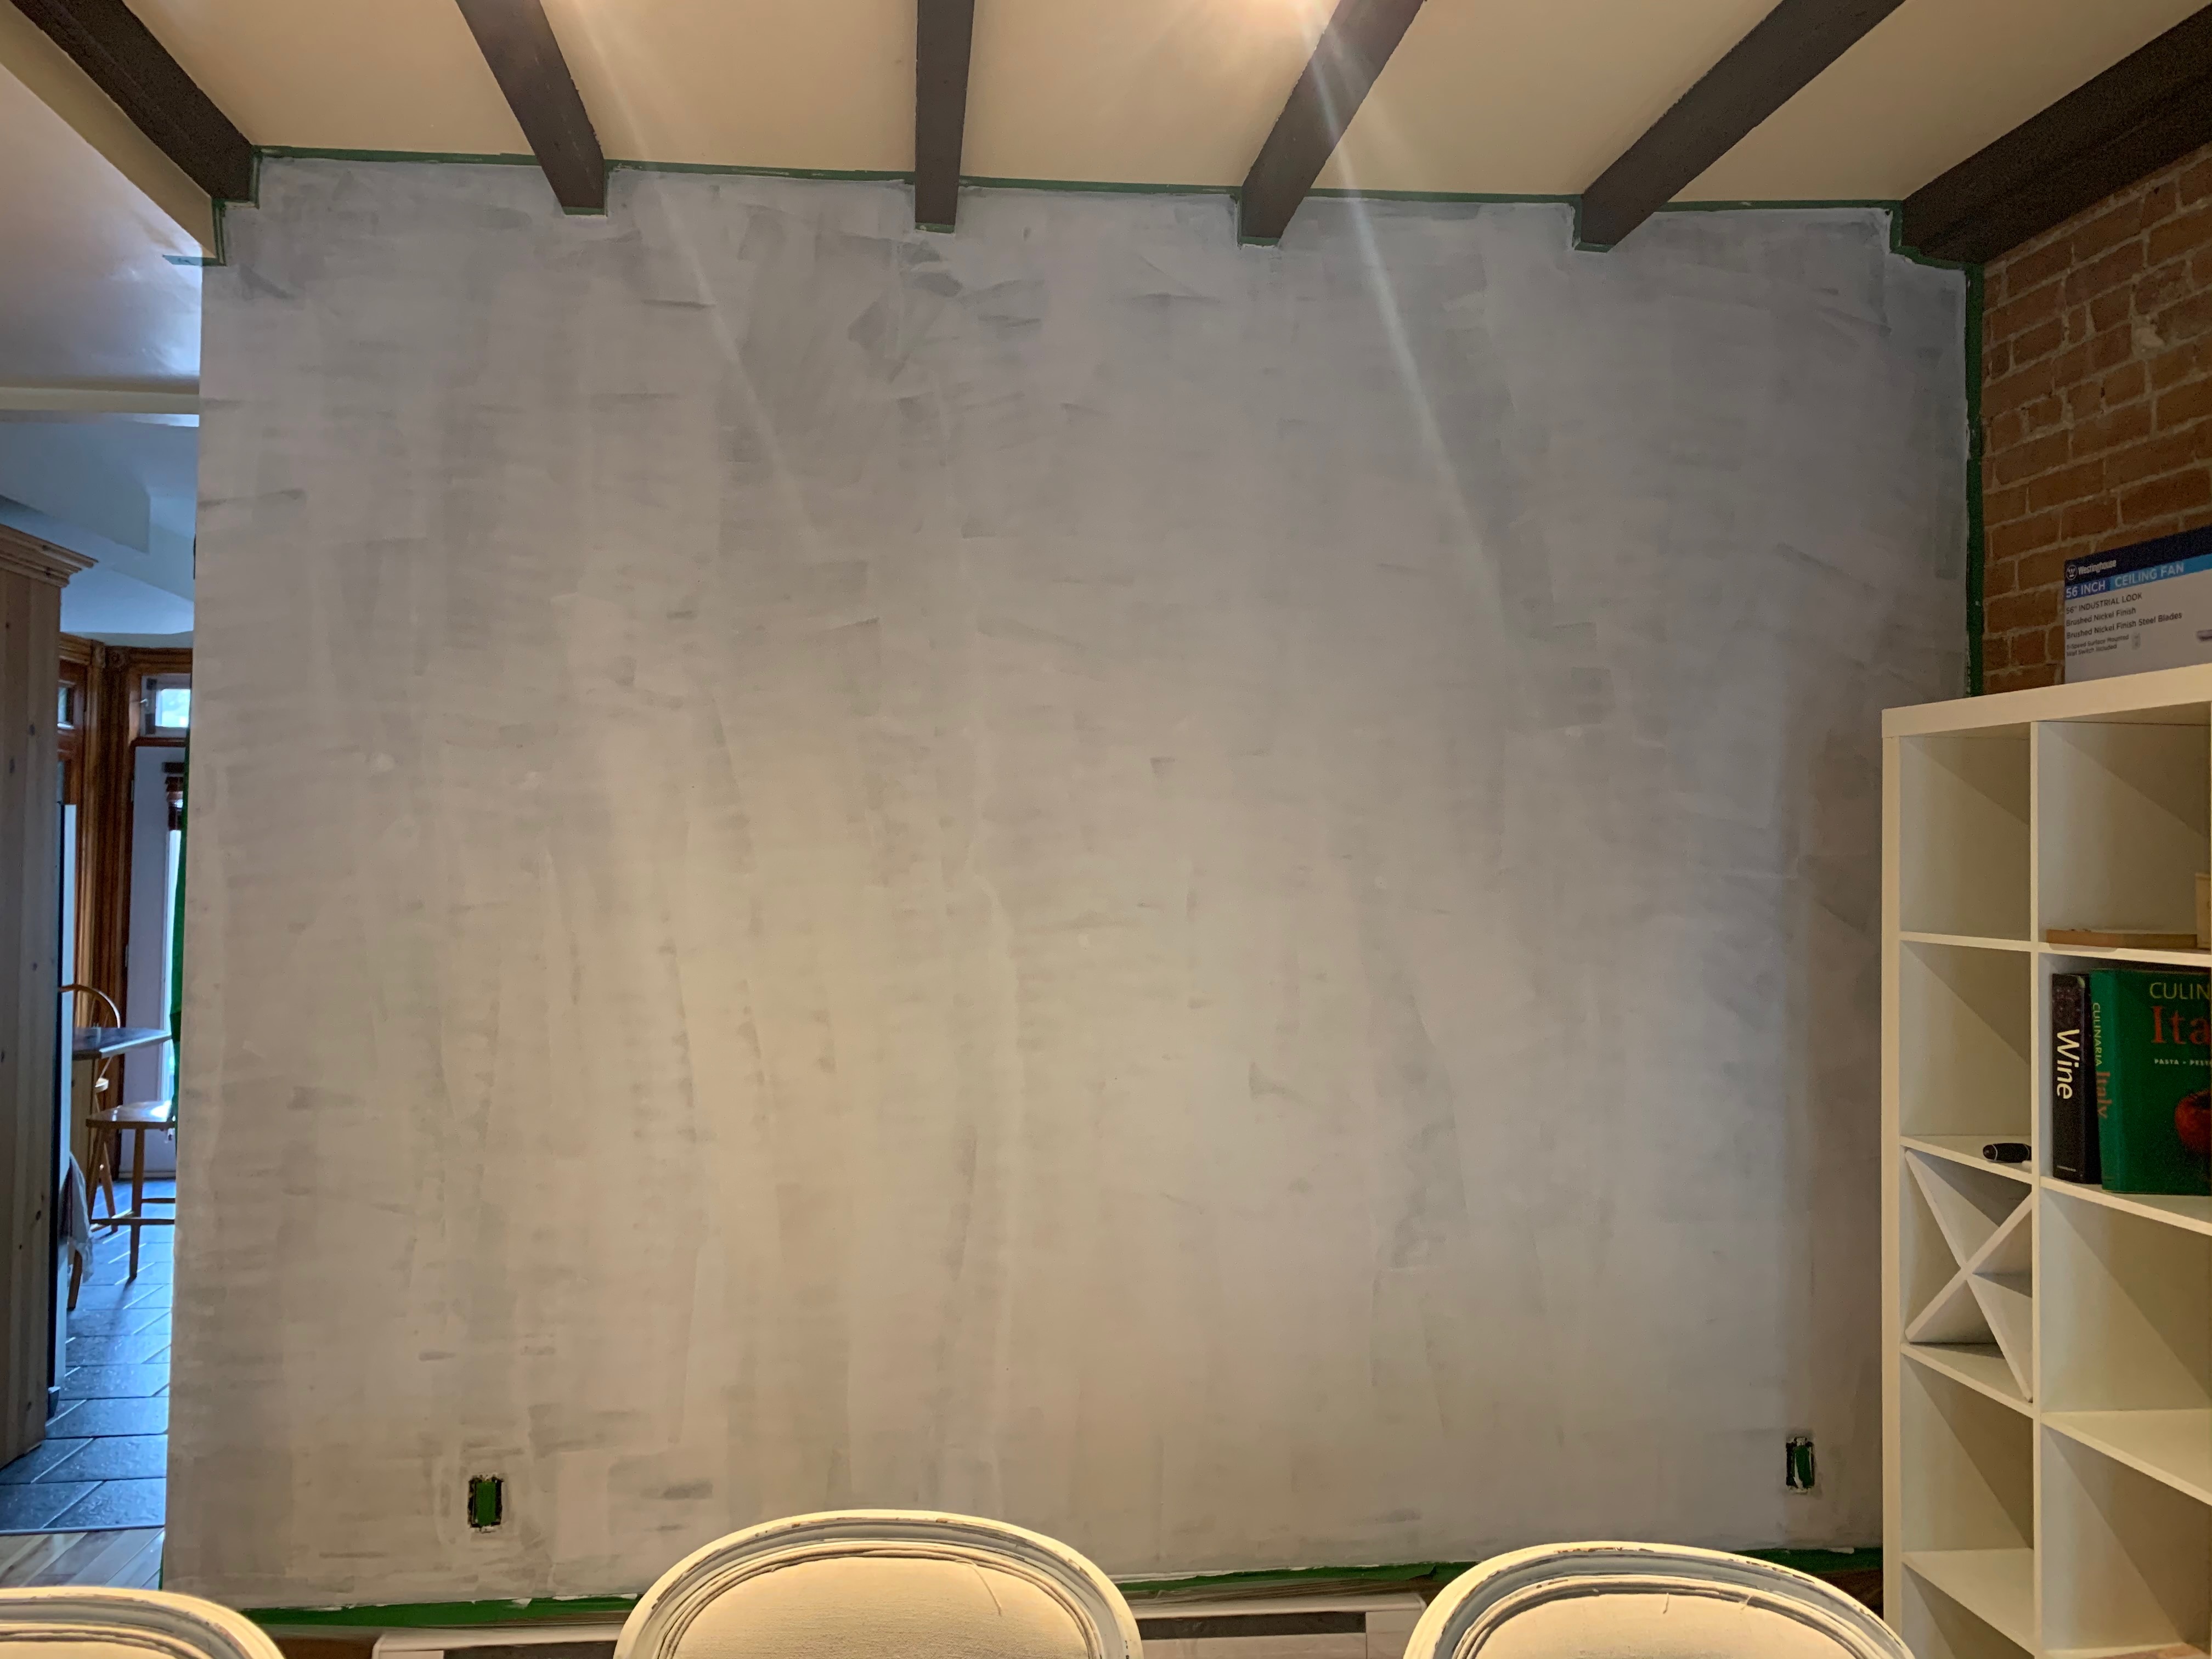
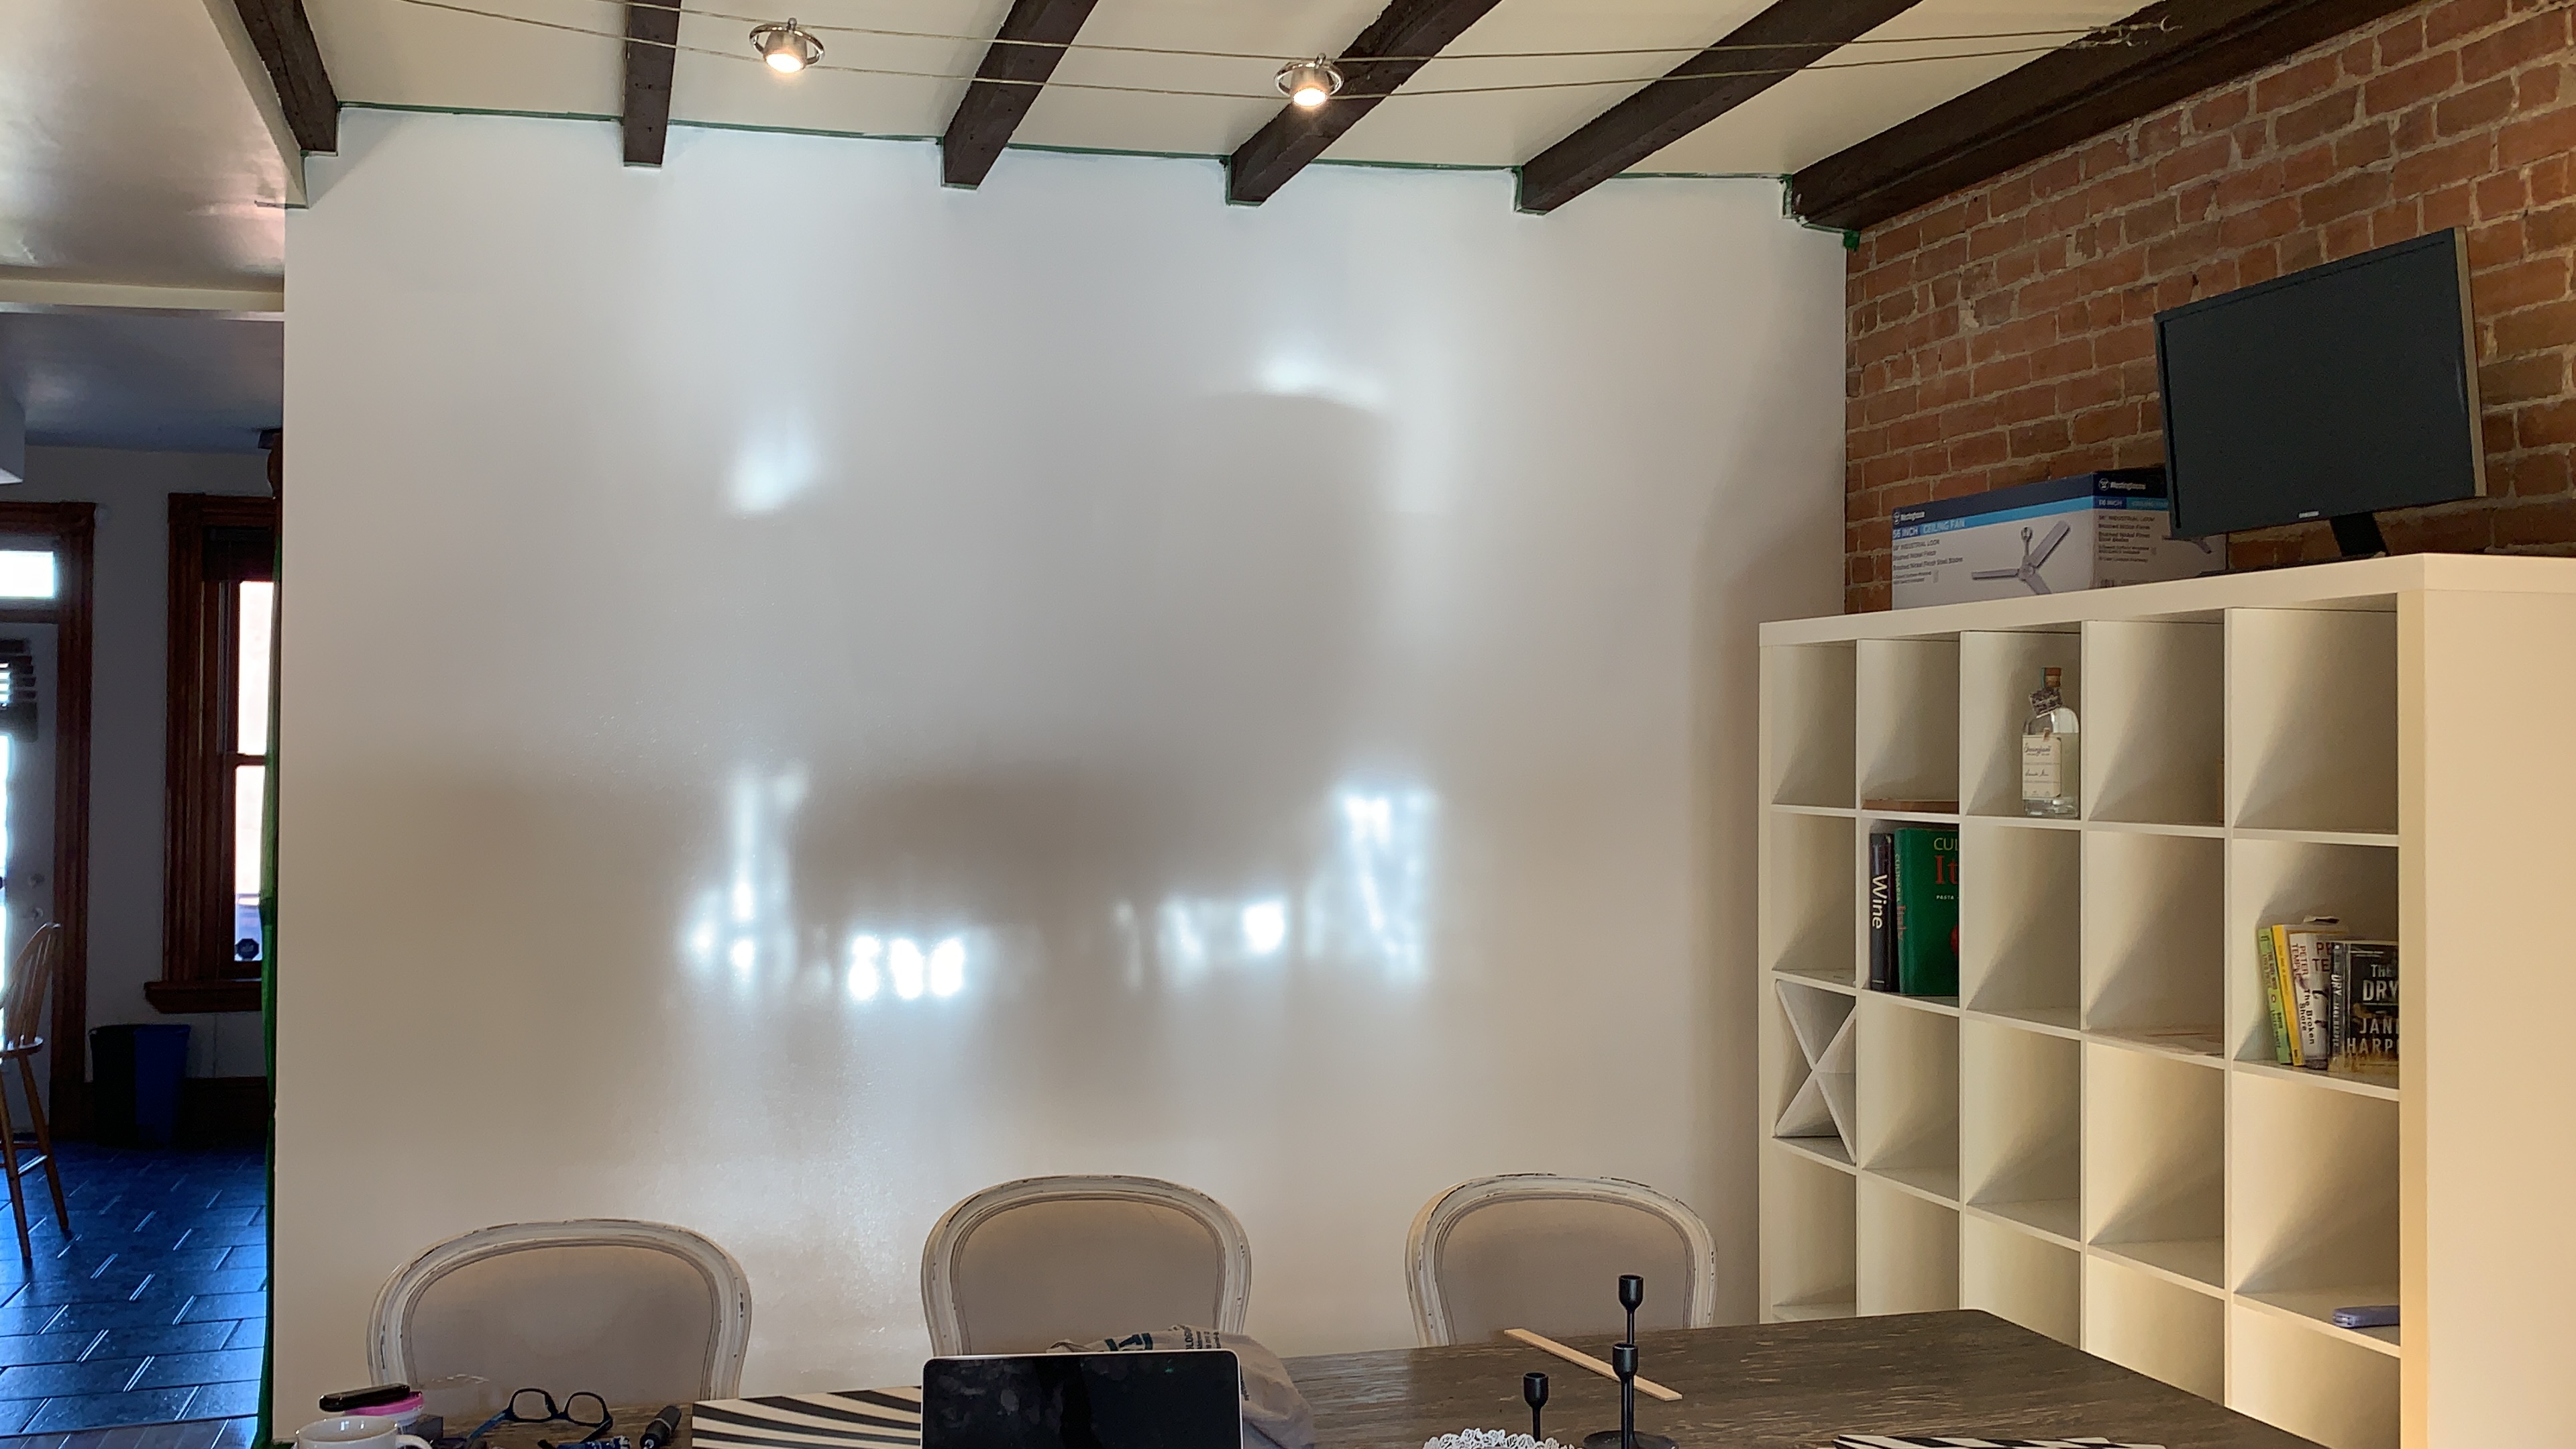
I have time and am not in a rush. The thing is though, when I start something I generally really like to just get it finished. So it’s a challenge for me that I’m not yet done (there are other things that need to be tended to!), but I’m liking the results so far. All the walls and the columns are done, and next week I will be able to tackle the ceiling. It will be fun dealing with all the beams!

One of the things I needed to do which took me away from the painting was …. the shower stall. It will eventually be redone, and although it’s still in pretty good shape, it really needed cleaning up. I’ll let the videos speak for themselves…
Okay, it’s not a brand new shower – but it is soooooo much better!
The hose and shower head also had a fair amount of mineral deposits and residue from the water on them. Rather than going out and buying a new one, I decided to remove it and throw it in the bathtub with some warm water and vinegar. This worked really well and all that mineral deposit is gone.
I have to say, I felt pretty good about that one too! It doesn’t take much folks, it doesn’t take much…. 🙂
I’m now wondering what I will do once I have painted the ceiling and the bedroom. Well, other than sit back and wait for HGTV to offer me my own show (obviously!!!)….
PS: Shout out to the Rona on Notre Dame. The staff is incredibly helpful, knowledgeable and so very nice. They don’t wait for you to come to them to ask for help, they make sure you are taken care of.

Love!!!
[…] I’ve written before, I love me some HGTV. And when I can’t find something I like there, you might just catch me watching something on […]